Cultivo e cuidados básicos
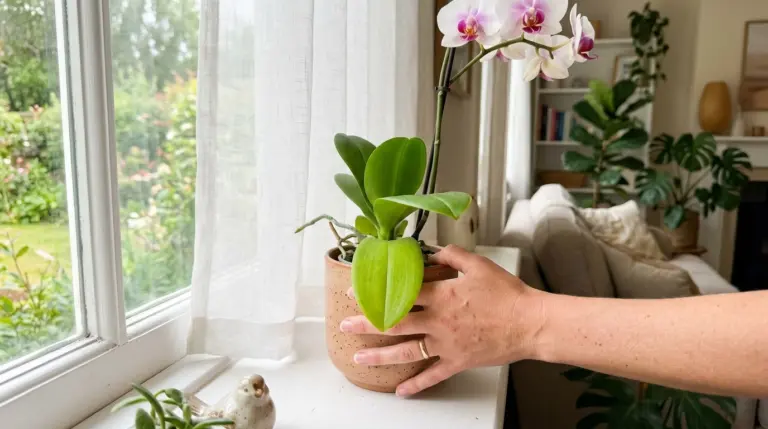
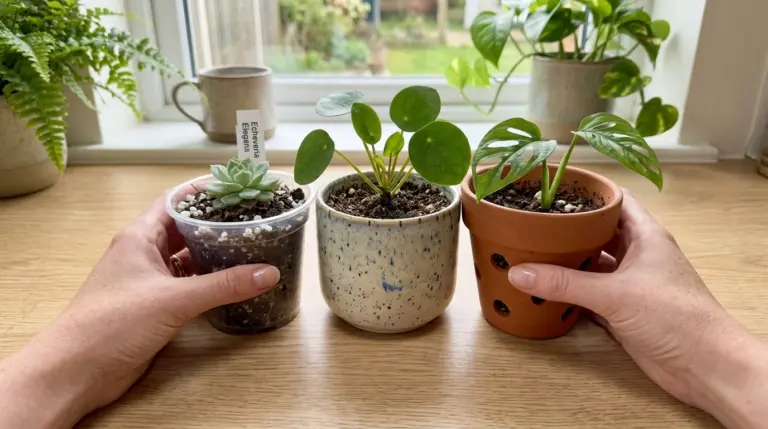
Como escolher o vaso certo: transparente, cerâmica ou vaso com furo lateral
Já usei praticamente todo tipo de vaso disponível no mercado pra minhas orquídeas, do mais básico de plástico…
Já usei praticamente todo tipo de vaso disponível no mercado pra minhas orquídeas, do mais básico de plástico…
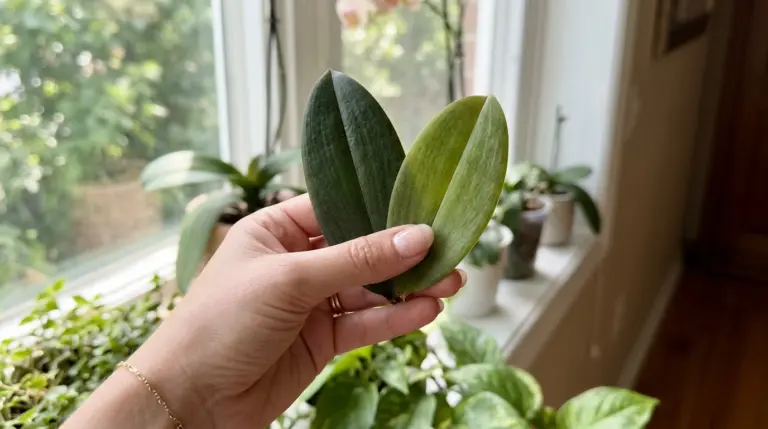
Já queimei folha de orquídea colocando ela direto numa janela com sol forte da tarde, achando que "mais…
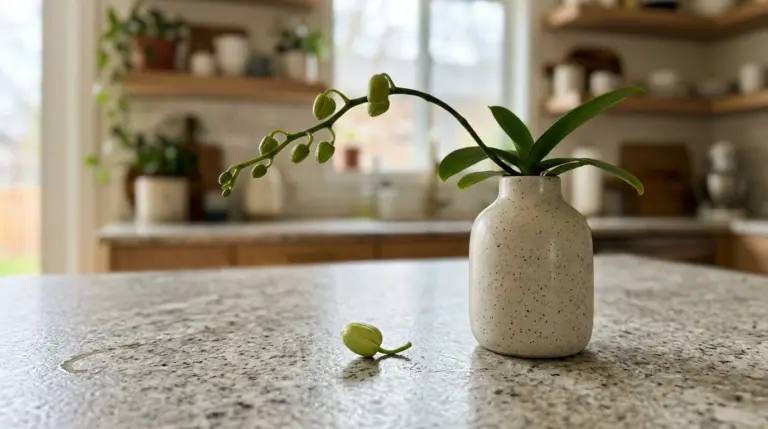
Fiquei genuinamente frustrada quando, depois de semanas acompanhando de perto o desenvolvimento de uma haste floral promissora, os…
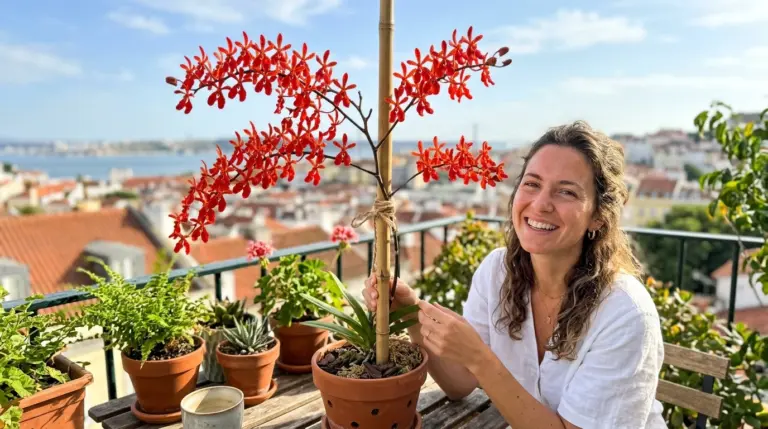
Recebi minha Renanthera de um amigo que estava se mudando e precisava encontrar um novo lar pra suas…
Depois de já detalhar em outro artigo como escolher o local certo pra orquídea, percebi que muita gente…
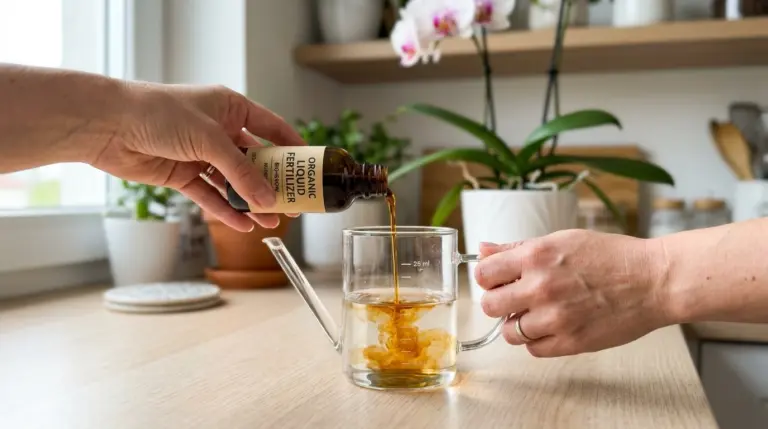
Por muito tempo, adubei minhas orquídeas de forma completamente aleatória, aplicando adubo forte demais e sem periodicidade definida,…
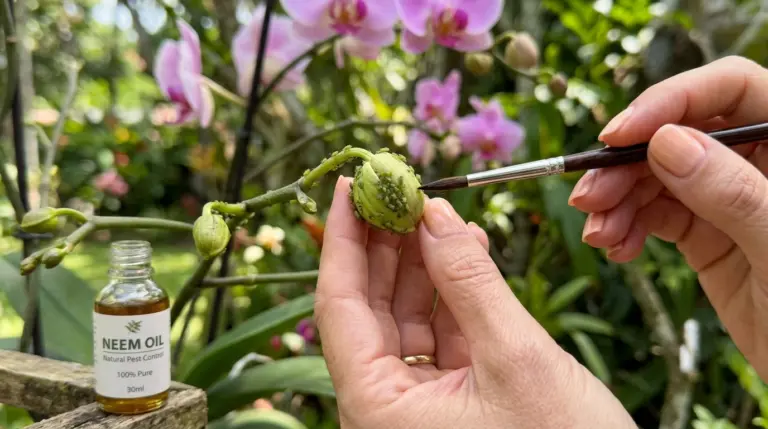
Percebi um aglomerado de pequenos insetos verdes concentrados justamente no botão floral mais tenro de uma orquídea recém-emergida,…
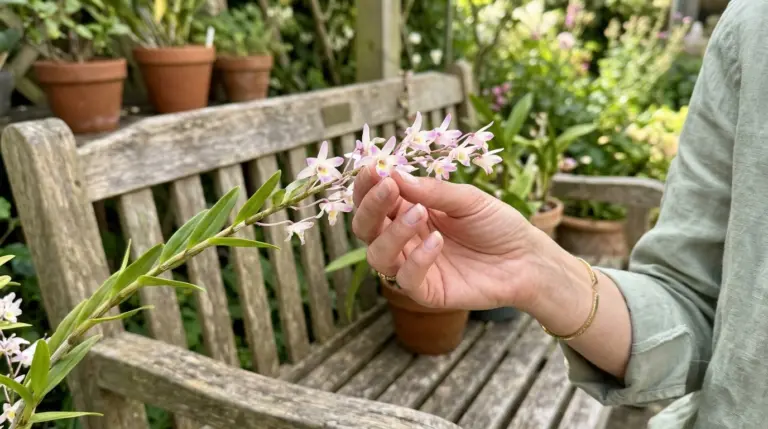
Comprei minha primeira Dendrobium sem saber exatamente qual variedade específica era, atraída só pela cauda de flor delicada…
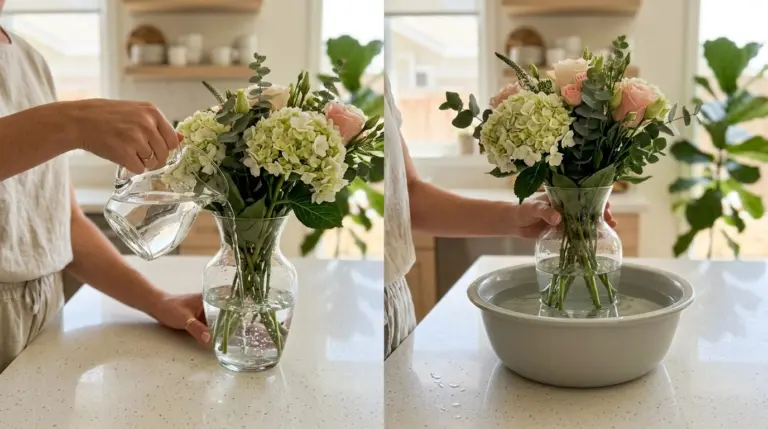
Já detalhei em outro artigo que uso principalmente a rega por imersão na maioria das minhas orquídeas, mas…
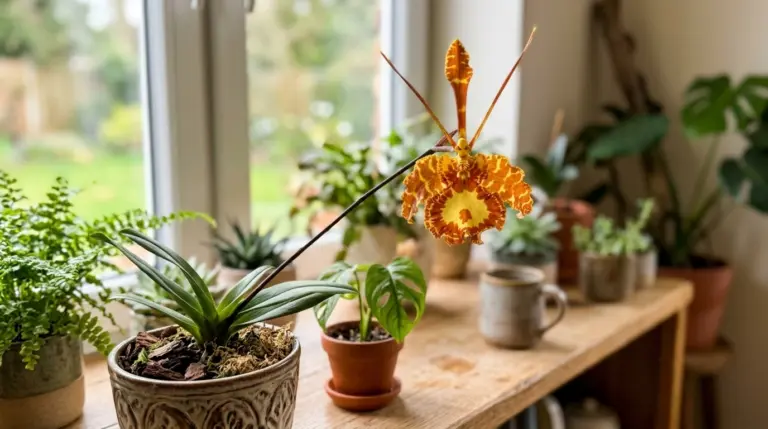
Vi a Psychopsis florida numa foto compartilhada num grupo de cultivo e fiquei intrigada com o formato da…